
How to sew a headband – free tutorial and pattern
A headband is the perfect quick sewing project: all you need is a small piece of fabric, and some elastic. Our headband Ann.aa sits comfortably thanks to the elastic at the back, doesn't slip and gets a pretty bow at the front. The pattern is available for free in six sizes, from baby to women.
Free pattern: Get the Ann.aa pattern with all six sizes, exact measurements, A4, A0 and projector files and the detailed photo tutorial for free. Just sign up for our newsletter and download it. Get it for free →
What you need
- Muslin – depending on size, approx. 20 × 40 cm to 25 × 60 cm
- Elastic, 2.5 cm wide
- a sewing machine, pins or fabric clips
- fabric scissors or a rotary cutter
- the free Ann.aa pattern to print (A4) or project (A0)
The tutorial is easy to follow for beginners with a little sewing experience.
Choosing the right size
Measure the head circumference exactly where the headband will sit. The pattern comes in six sizes for a head circumference of 37 to 60 cm – from baby to mum. You'll find the exact sizes, fabric requirements and elastic length for every size in the free pattern.
Before you cut
Always prewash your muslin. It shrinks a lot in the first wash, and your headband would no longer fit afterwards. Then press the fabric completely flat, otherwise the headband loses its shape while being worn and becomes too loose.
Cut the headband 1× on the fold, the elastic casing 1× and the centre piece for the bow 1×. The pattern version "including seam allowance" already contains 0.7 cm seam allowance.
How to sew a headband – step by step
Step 1: Sew the elastic casing
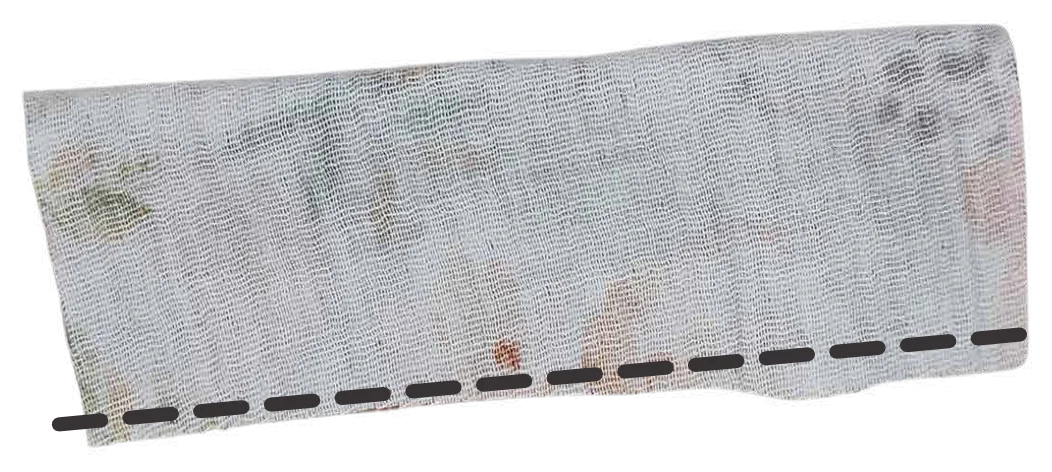
Fold the casing in half lengthwise, right sides together, and sew the long edge. Turn it right side out.
Step 2: Insert the elastic
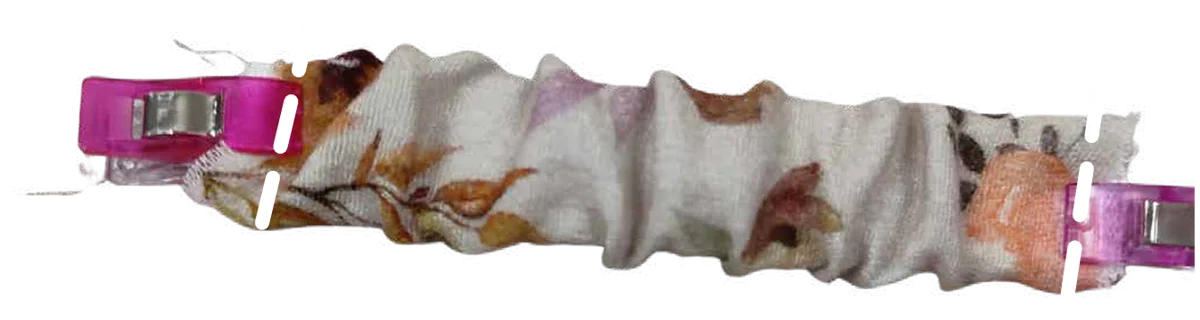
Thread the elastic through the casing with a safety pin. Clip the other end first so it doesn't slip inside. Sew both ends of the elastic to the ends of the casing, with the casing seam centred on the back.
Step 3: Make the pleats
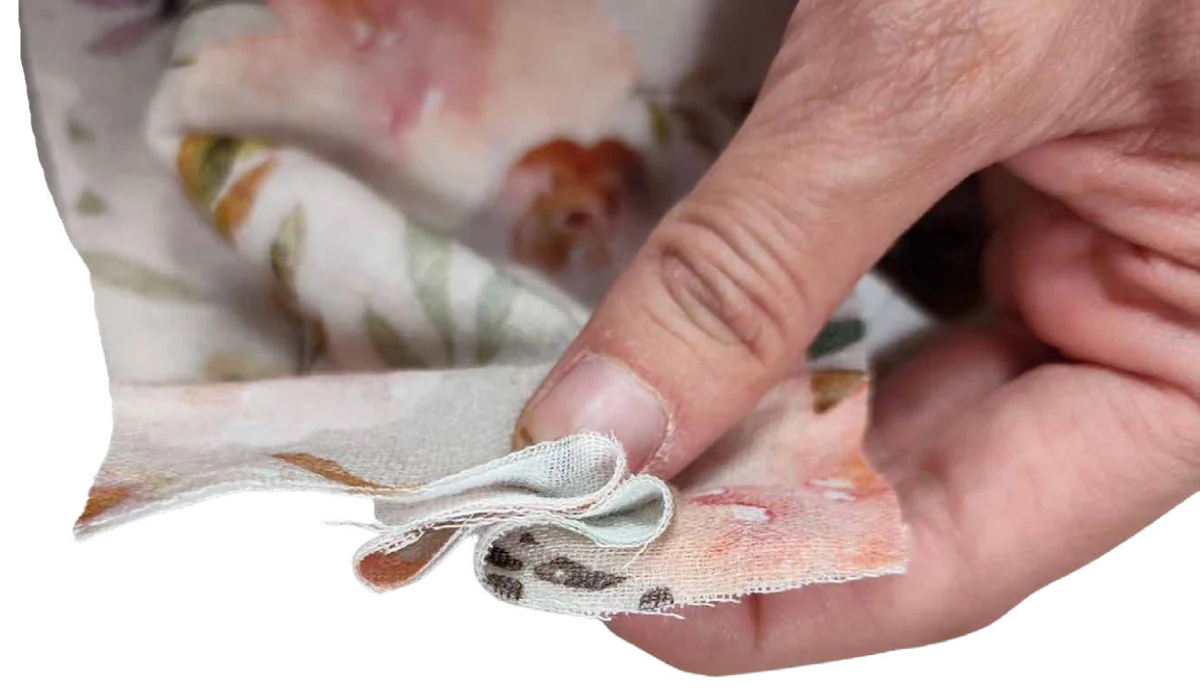
On the short end of the headband, fold two or three pleats in one direction within the marking on the pattern. Pin and sew them within the seam allowance with a straight stitch. Repeat on the other end, making sure the pleats point in the same direction on both sides.
Step 4: Attach the elastic
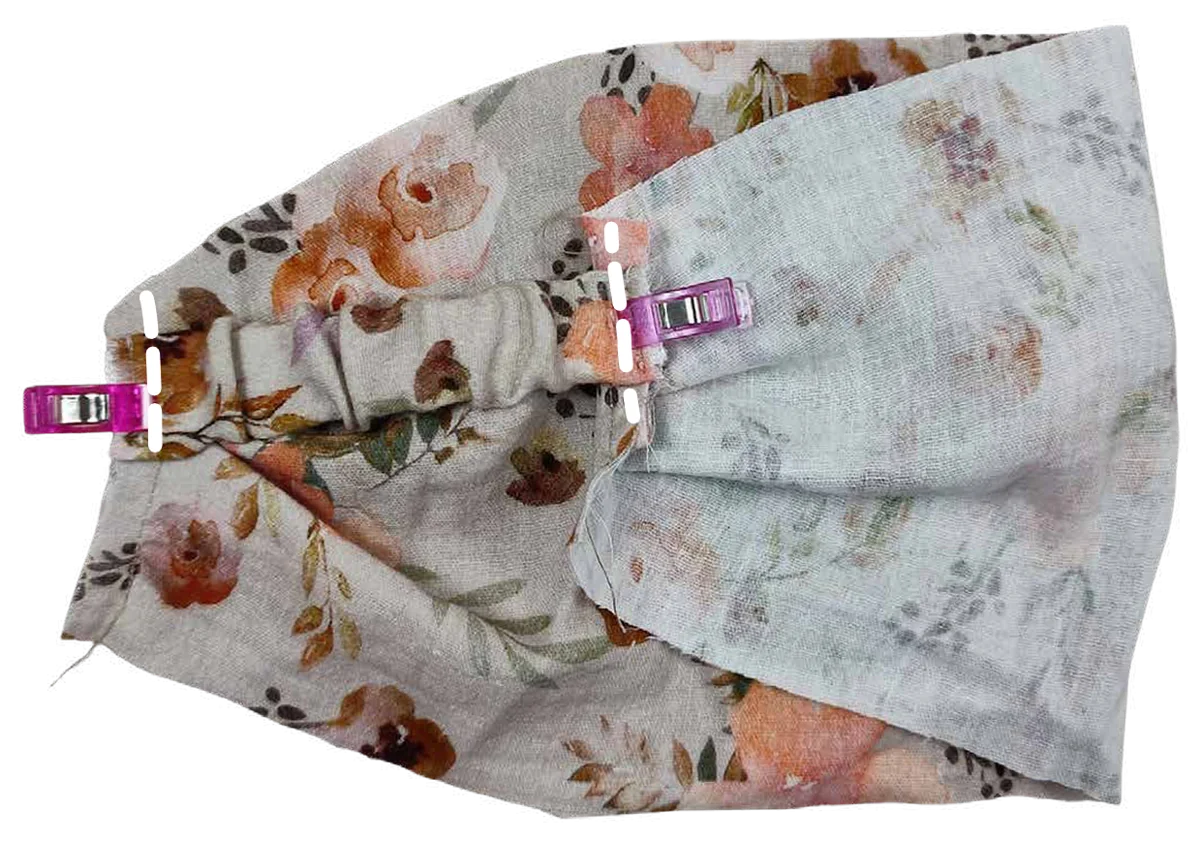
Place one end of the elastic one seam allowance away from the top edge onto the pleated end, with the casing seam facing you. Sew it in place and repeat with the other end on the second side.
Step 5: Pin and sew
Place the bottom half on the top half, right sides together, and pin along the whole length. The elastic lies inside. Sew the short ends and the long edge, leaving a turning gap of about 4 cm. While sewing, guide the fabric so it doesn't fold in front of the needle.
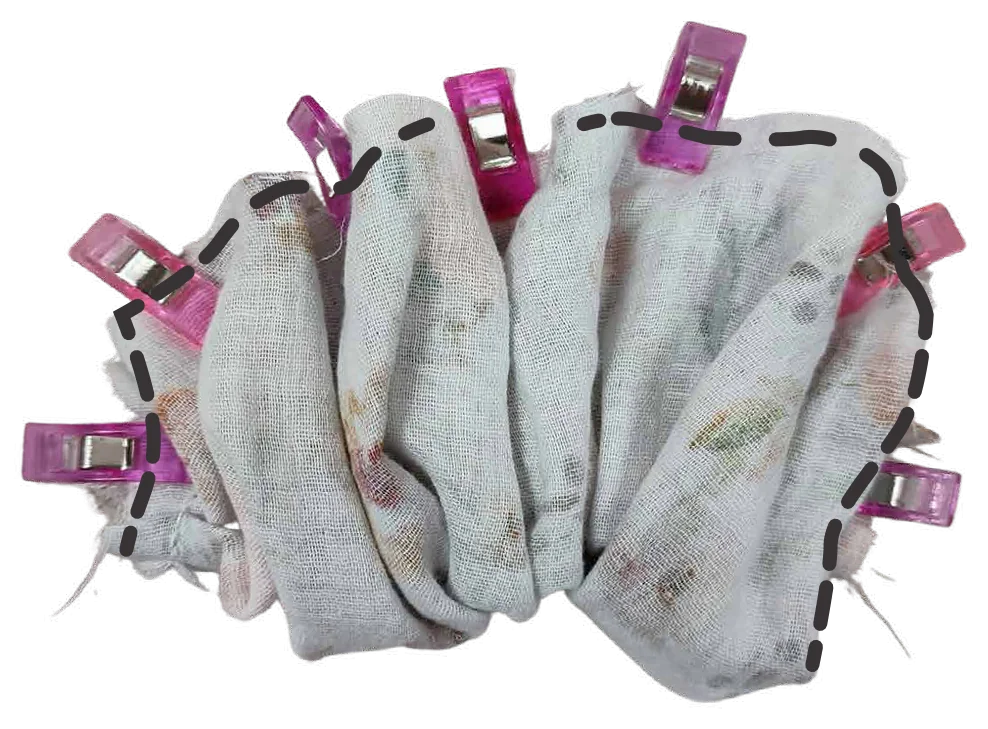
Step 6: Turn and close the gap
Turn the headband through the gap. Press the seam allowance at the gap inwards and close it close to the edge with your sewing machine – or invisibly by hand with a ladder stitch.
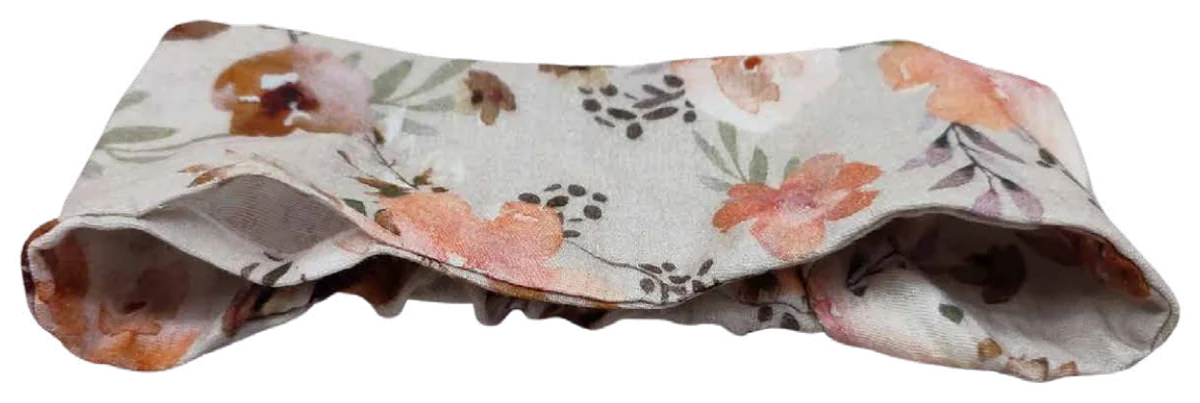
Step 7: Sew the bow
Fold the centre piece lengthwise, right sides together, sew the long edge, turn it and press the seam to the middle. Wrap it around the headband with the seam facing you and sew it closed. Trim the seam allowance and rotate the centre piece so the seam is on the inside. If you like, secure it in the middle with a few hand stitches.
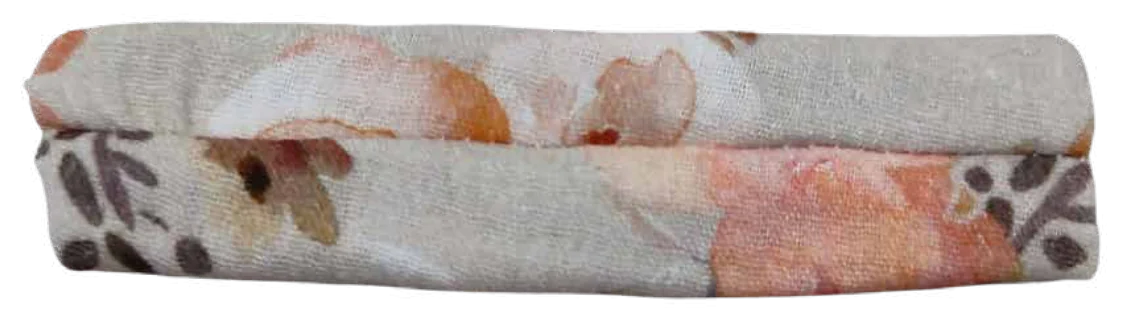
Your headband is finished!
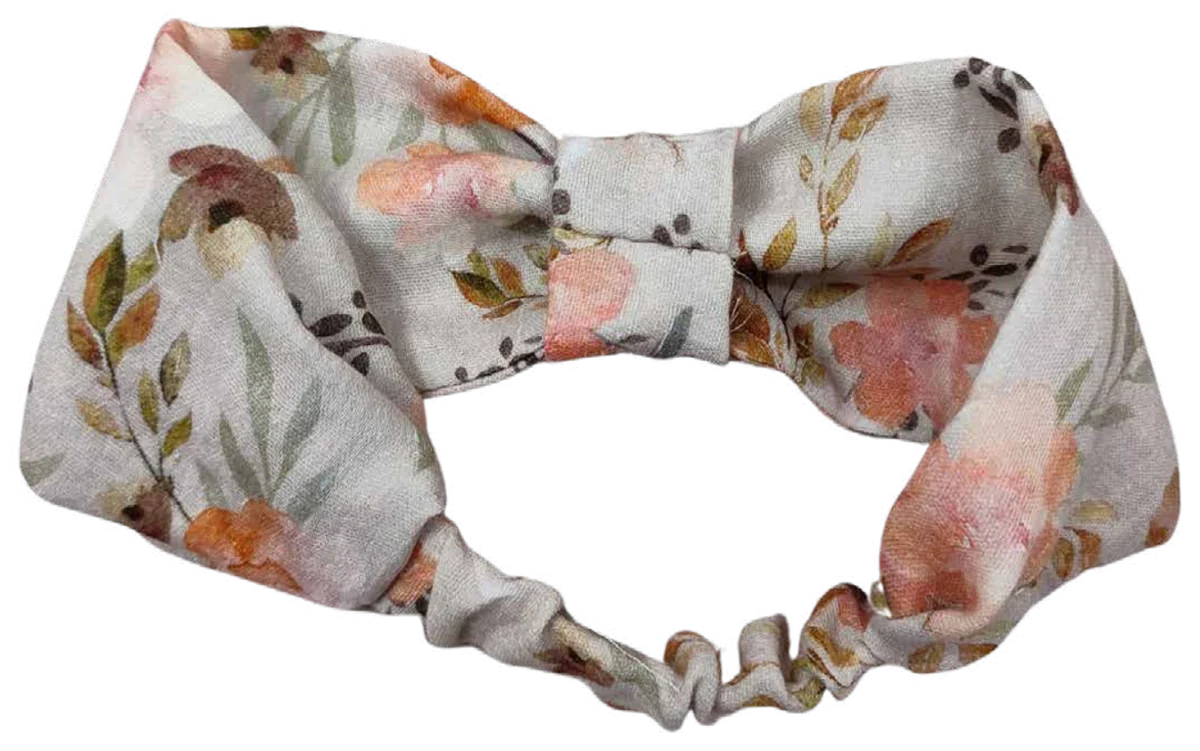
Variation: head scarf
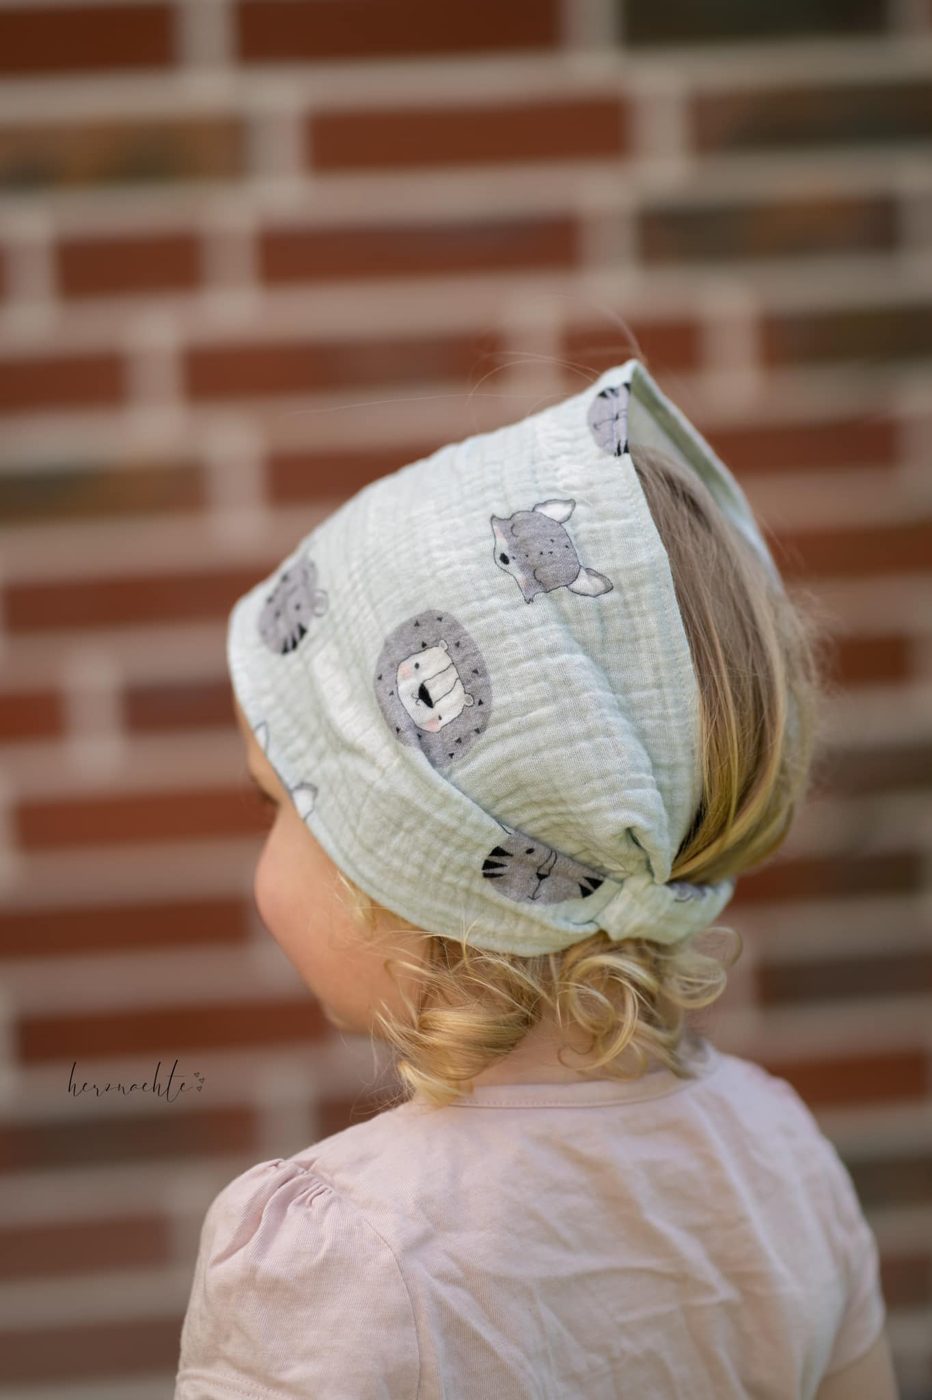
You can also sew a head scarf from the same pattern. Hem the long edges with a double fold (2 × 1 cm), pleat the short ends again and sew in the elastic. The detailed instructions are included in the free pattern.
Tips from our sewing room
- Use up scraps: a kids' headband only needs a small piece of fabric – perfect for the lovely muslin left over from your last dress.
- Matching looks: with sizes from 37 to 60 cm head circumference, you can sew a matching one for yourself too.
- Pressing pays off: flat-pressed fabric keeps the hem from sticking out later.
Frequently asked questions
Which fabric is best for a headband?
Ann.aa is designed for muslin. It is light, airy and comfortable in summer. Just remember to wash it before sewing.
How long should the elastic be?
You need 2.5 cm wide elastic. The exact length for every size is in the free pattern.
Is this tutorial suitable for beginners?
Yes, with a little sewing experience it's easy to manage. You only need straight stitches, and every step is explained with photos in the free pattern.
Your free sewing pattern
Get the free headband pattern Ann.aa with all sizes, A4, A0 and projector files. You'll find more hats, headbands and accessories in our overview Headbands, Hats & Accessories. Perfect for the colder months: the beanie & loop scarf Hipst.aa, also free. Prefer a knot instead of a bow? Have a look at our tutorial How to sew a twist headband with the free pattern Head Hugger.
Show us your make with #Babinaapatterns or #Haarbandannaa!